Now that you have your feed all set up and your Twitter linked to it, I wanted to show you some things to do to optimize your feed.
Start out by going to your feeds...
1. From your Blogger dashboard, click on My Account in the top right hand corner.
2. Click on Feedburner. That takes you to your feeds. My page looks like this:
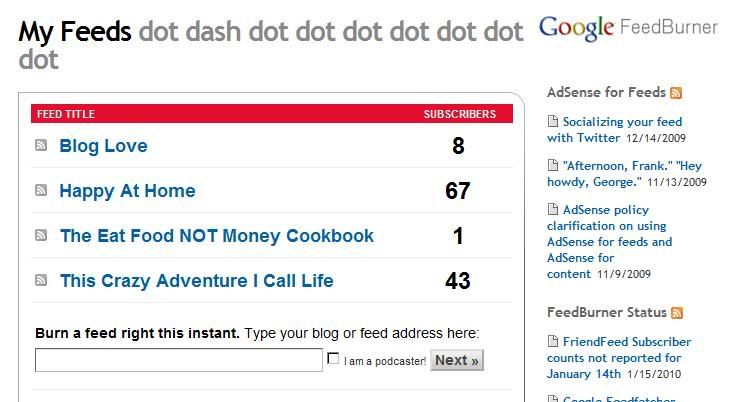
3. Click on the name of the feed you want to work with.
4. First we're going to optimize your feed. Click on that tab on the top:
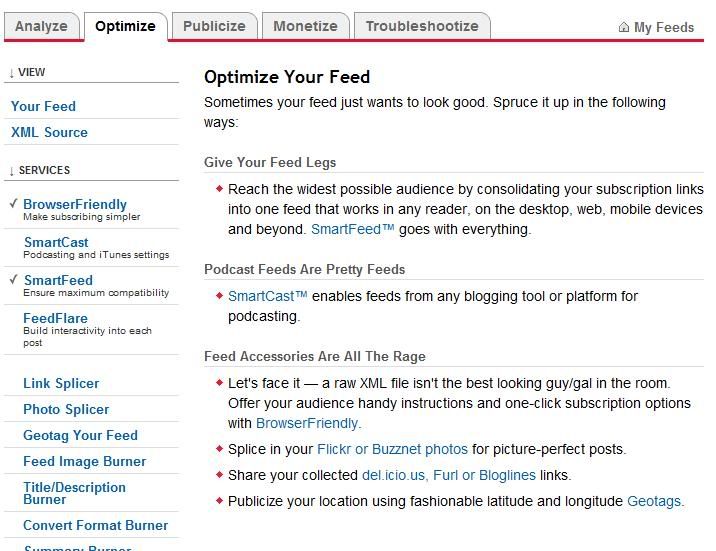
As you can see, I have this blogs feed set to BrowserFriendly and SmartFeed. When you click on each item in the sidebar, it gives you a brief description of what that particular item does for you. You can choose as many as you want or none at all. Just be sure to save anything you activate at the bottom of each page.
A little about the two items I am using:
SmartFeed: Reach the widest possible audience while publishing a single feed on your blog or site. Translates your feed on-the-fly into a format (RSS or Atom) compatible with your visitors' feed reader application.
Just explore the different options available and don't be scared of them :) You can't mess anything up. I promise.Now we're going to advertise your feed so that you can get more readers.
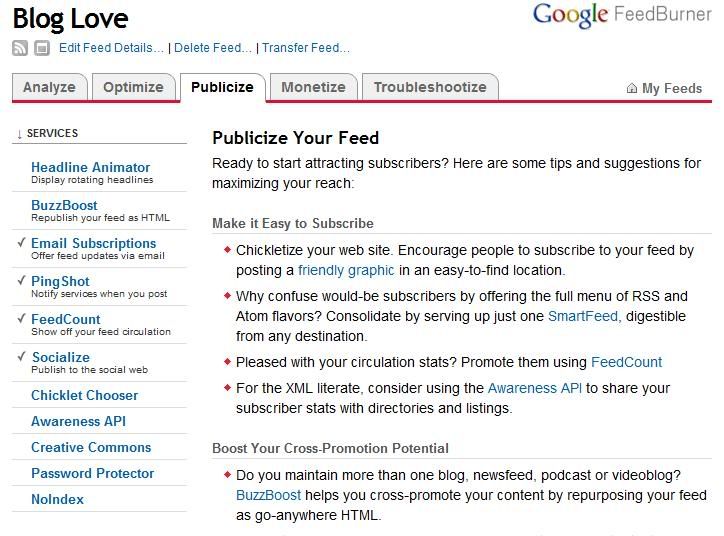
1. Go to the Publicize tab:
3. Now you want to go to Chicklet Chooser:
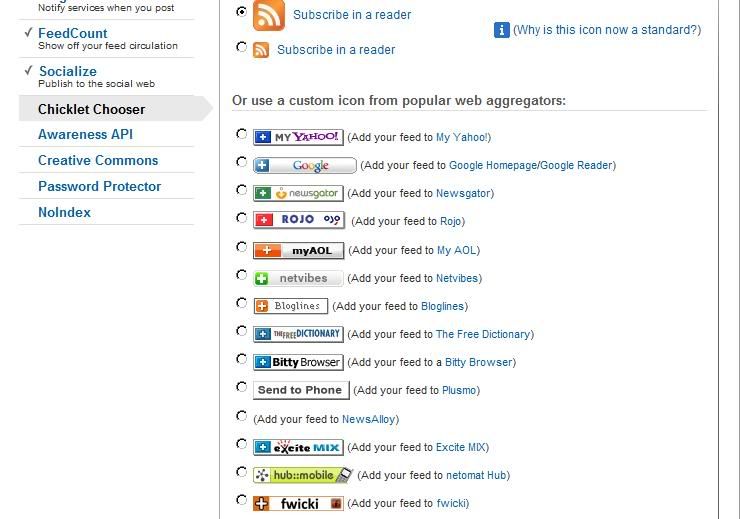
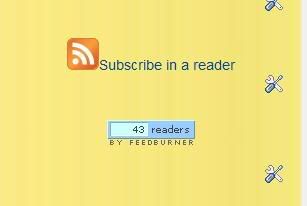
(On this blog my RSS feed is built into my template so I don't have the chicklet here BUT I do have it on all my other blogs. Here's what it looks like on my Crazy Life blog:
 )
)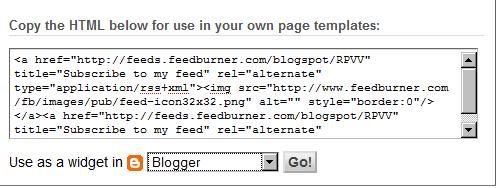
Add it to your layout: Go to Blogger dashboard/Layout/Page Elements/Add a gadget/HTML/Javascript and paste the code into it.
Or you can tell it to Use as a widget in Blogger (see it below the code in the above picture?) and it will automatically add it for you. You can then move it around by going to your Layout page under Page Elements. Be sure to save it after you get it where you want it!
5. If you want to show off how many people you have subscribed to your feed (see the little blue button just underneath my Subscribe in a reader chicklet up there?) then on your feed on Feedburner go to Publicize and then Feed Count on the sidebar. You will get a page that looks like this:
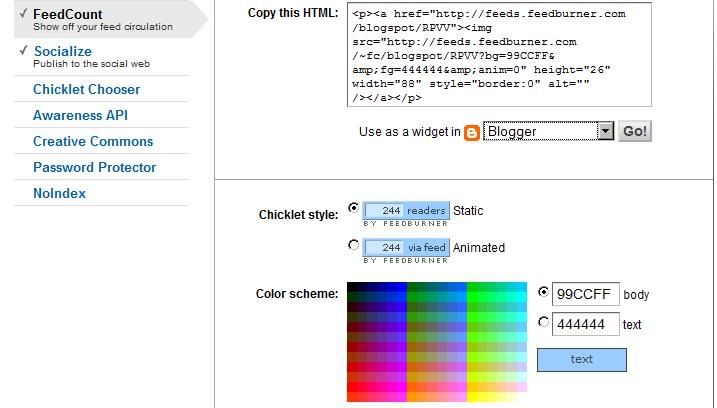
Choose the colors you want and if you want it to just say "readers" or to be animated (that one goes between "via feed" and "readers") then activate it at the bottom and then save it. Either copy the HTML and post it to your blog in the same way you did the chicklet or tell it to save it for you. Just be sure it's set to use as a widget in Blogger :)
That's it! You're all set up! Tomorrow I'll tell you a couple more ways you can use your feeds and then we'll move on to a new subject :D Have a great day everyone!

 Twitter
 Facebook
 Kats Kreations
 **Blog Tips**
 RSS
RSS


0 of the people I love gave me love:
Post a Comment
I hope you have a beautiful day! ♥